
Become a gardening genius (or just play one on tv) with this quick and easy project – no green thumb required!
PROJECT TIME: 30 min.*
PROJECT LEVEL: easy
SUPPLIES: large terra cotta bowl or pot, soil, plant markers, 3 varieties of mint plants
*Does not include a trip to your local plant nursery, which if you’re like me, can never be done in under an hour – so many green things to look at!
PROJECT NOTES AND TIPS:
- CHOOSING THE RIGHT POT – if you live in a dry, arid climate or will be keeping the pot indoors then choose a terra cotta pot/bowl because it will keep the soil moist better than a plastic pot can. If you’re in an area with a lot of humidity you can go with a plastic pot/bowl but either way, make sure there are drainage holes. Choose a pot that is big enough by setting all three of your mint plants in it. Ideally the base of the plants shouldn’t touch and there should be at least a finger’s width between them.
- CHOOSING THE RIGHT SOIL – if you’re buying soil, choose “potting soil” not top soil. When choosing a soil you can get one with fertilizer/plant food already in it but it’s not necessary. Mint grows pretty well on it’s own and doesn’t usually need that initial plant food boost.
PLANT YOUR MINT BOWL:
- CLEAN POT. Start by rinsing your pot to remove and debris or dust. Consider sanitizing your terra cotta pot if you’ve had other plants in it before.
- ADD SOIL. Fill your pot 1/3 full of soil. If the soil is very dry, mix it with water to moisten it up but not to the point of soaking it. Test it by squeezing a bit of dirt in your hand, if it crumbles apart, add water. If lots water squeezes out, it’s too wet, mix in a bit of dry soil.
- PREP MINT PLANTS. Remove your mint plants from their containers, if the roots are circling each other (root-bound) gently pull them apart with your fingers, it’s okay if some dirt comes loose. If the plants have been grown in peat pots remove as much of the pot as you can to avoid excess moisture around the plant roots.
- ADD PLANTS. Place your plants in the pot and add or remove dirt beneath them until the top of the plant is the same level that your final soil level will be.
- FILL WITH SOIL. Add the rest of your soil, gently packing it around the plant base to make sure there are no air pockets. Don’t add soil any higher than the current soil level of the plant base.
- WATER. Water your new mint bowl keeping an eye out for any collapsing in the soil, this means there’s an air pocket and you’ll want to pack the soil down and refill that area.
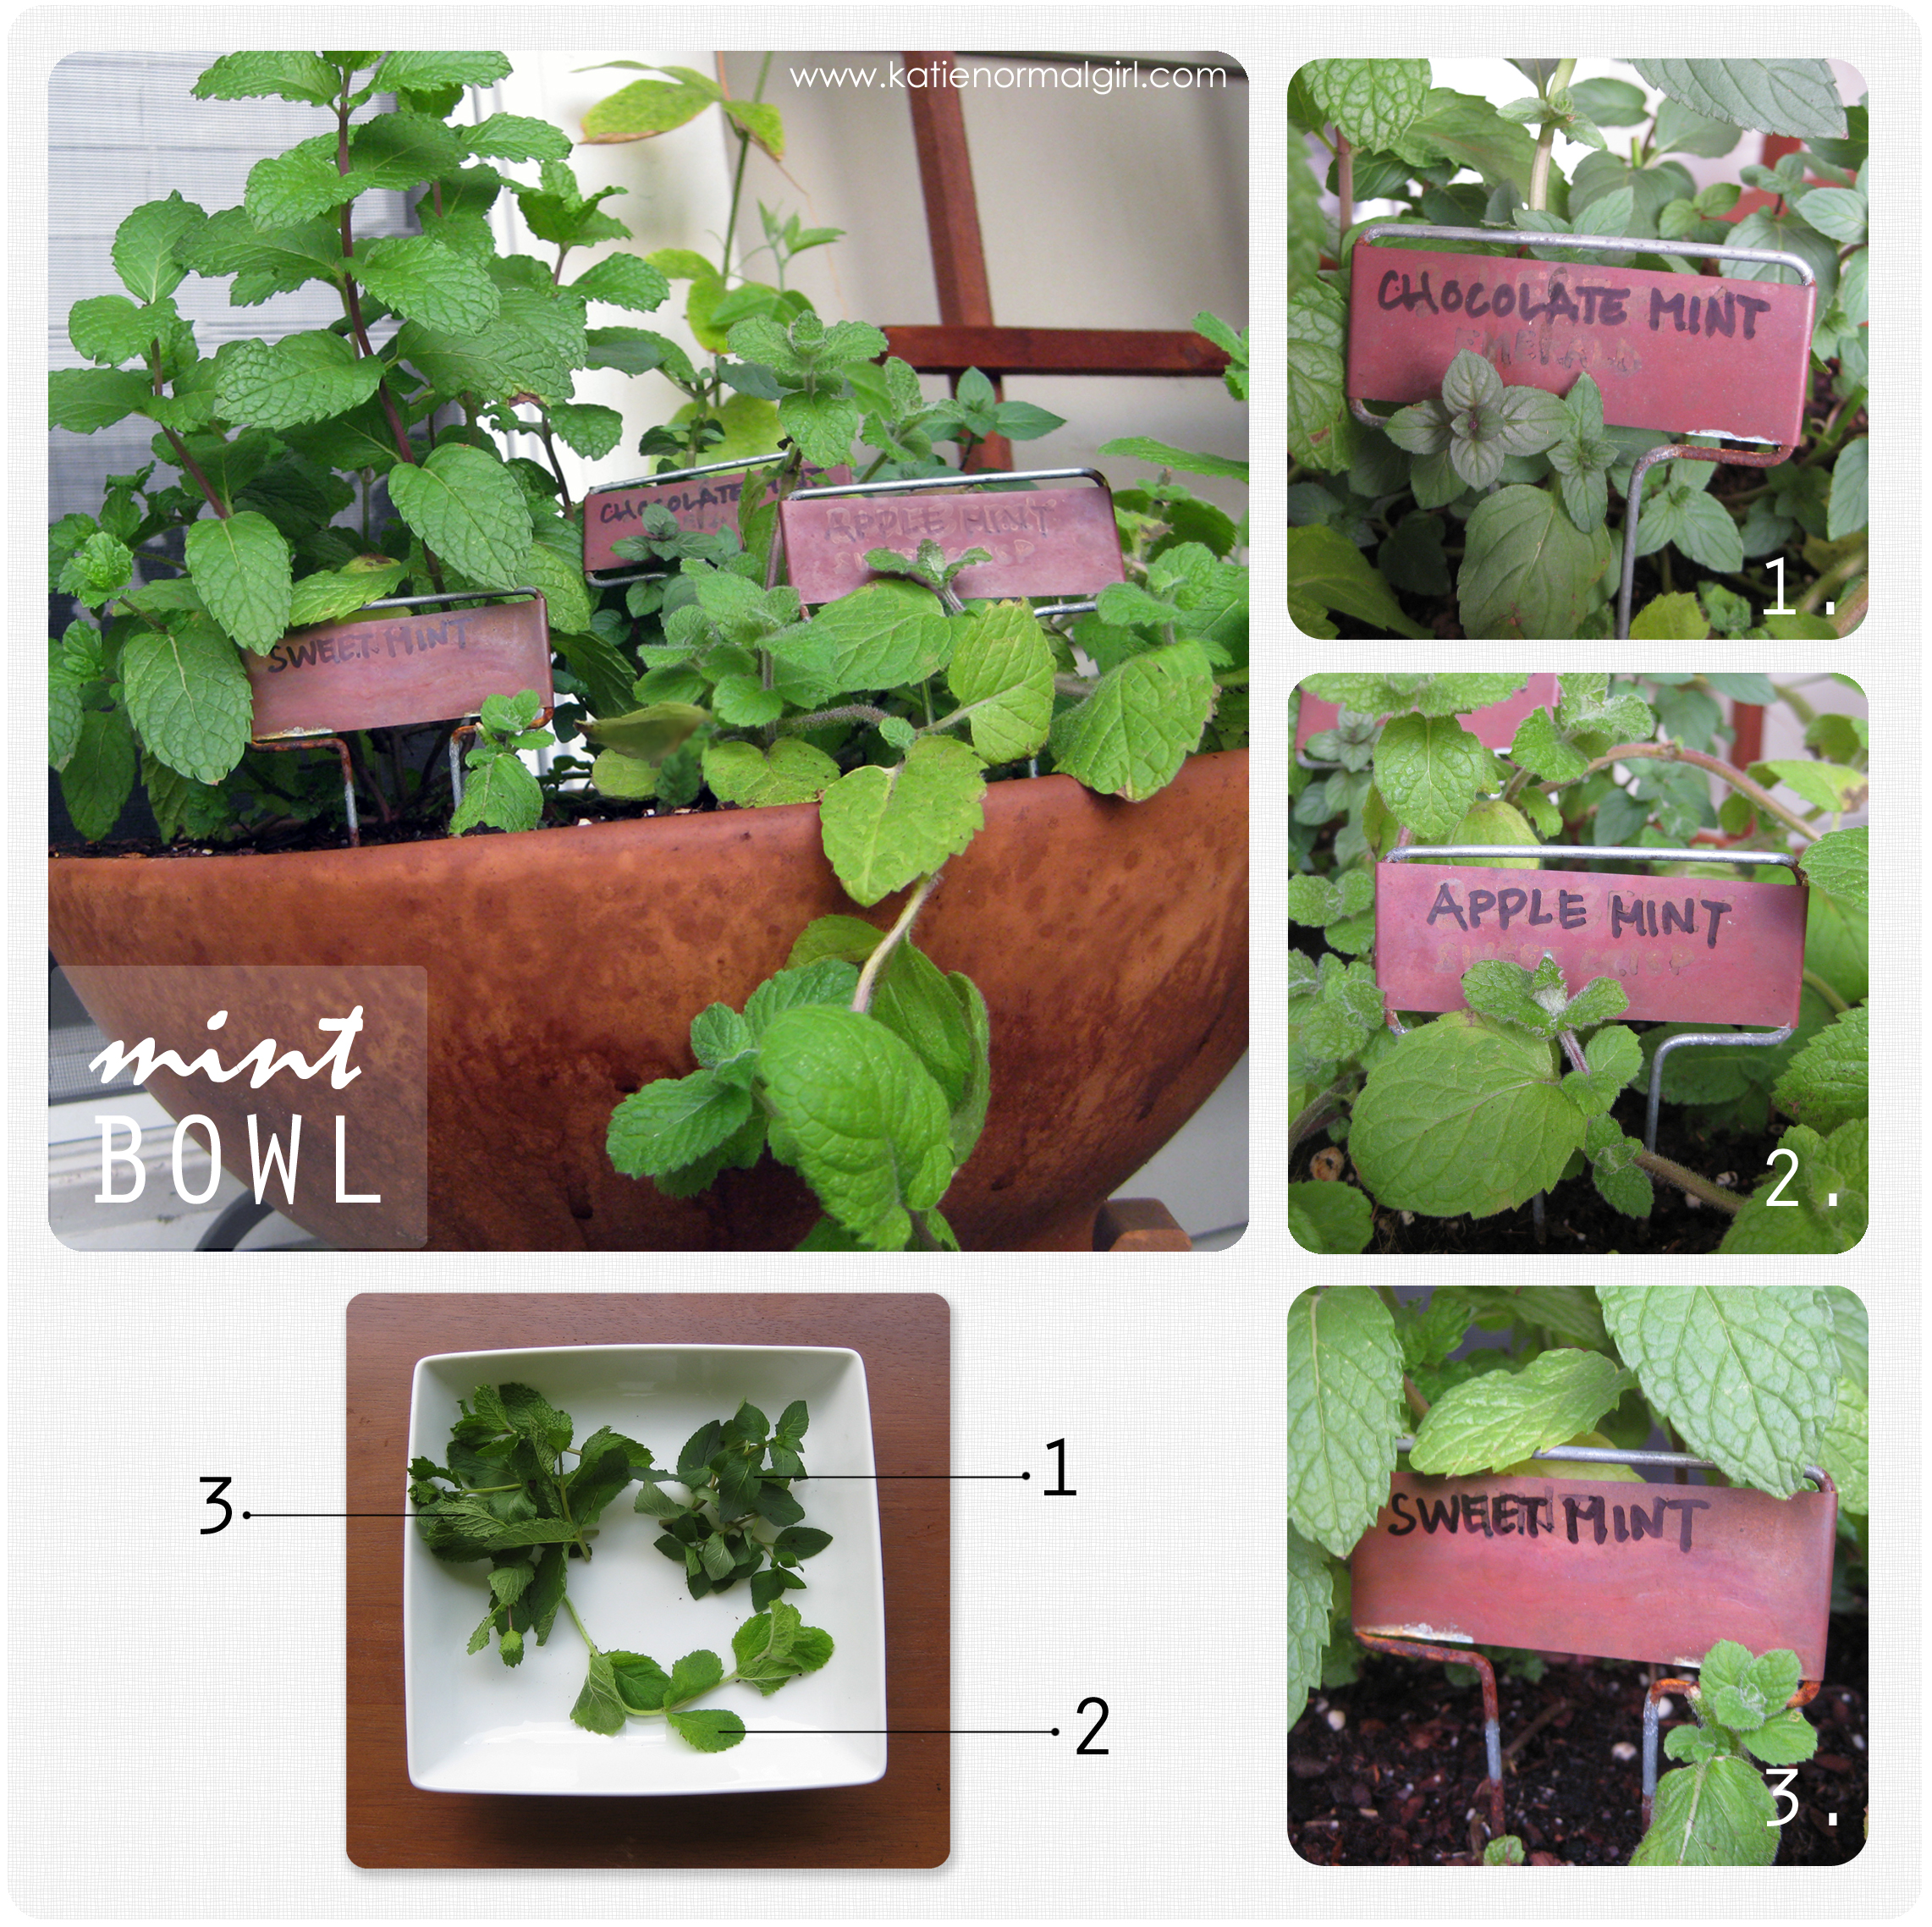
- MARK YOUR PLANTS. Mark each variety of mint with plant markers or craft sticks so you know which one is which!
MINT PLANT CARE TIPS:
Caring for your mint bowl is easy! Mint plants like evenly moist but well-drained soil so be sure to water regularly. The ideal location for mint is a place where it can get direct morning sun and will be protected from the harsh rays of the afternoon sun. Keep your mint plants trimmed with regular harvests and avoid letting it flower. If you see flower buds starting, snip them off and pop them into your tea or a salad.
That’s it – a mint container garden! This project is fun to make for yourself and it also makes a great housewarming or host/hostess gift. I hope you enjoy this project and tweet me pics of your planted mint bowls – I’d love to see them!
-K
Looking for things to do with your mint harvests? Check out these posts from when mint was the Herb of the Month!
One thought on “Gardening Quickie: Plant a Mint Bowl”